Let’s paint a blue watercolor iris!
It is such an elegant flower that we could not miss it, besides one of our followers on Instagram mentioned it as an interesting topic to paint. And we listen to our followers ?
Did you know that the name Iris comes from the name of the Greek goddess of the rainbow?
We are going to get charged with the Rainbow energy, maybe get inspired by some of Vincent van Gogh’s iris paintings and dive into watercoloring our blue flower!
Let’s start with the materials.
Paper:
- I used cellulose paper for this painting (Canson Montval). We won’t apply wide washes or use wet-on-wet technique, so no need to use expensive 100% cotton paper.
- Cold press is a good texture for this artwork. You can as well go with hot press if you prefer to have a perfectly smooth surface.
- My paper sheet is pretty modest in size, around A4 big. But feel free to take a bigger paper sheet to feel more free with your brush strokes.
Paint:
- I used Rosa watercolor set and other brands that are already squeezed into my palette. The color range is not crazy, you would need a couple of blues, pink, green, and yellow.
Brushes:
- I used a medium size round natural brush (squirrel) for the largest washes (which are not that large considering the size of my painting).
- A smaller brush would be also needed for the details and small petals. Take a round synthetic brush (size #1-3) with a pointy tip.
Other:
- Sharp thin pencil for a sketch. You want to be precise and keep the work clean. So I used an automatic pencil with a super thin lead.
- Eraser.
- Clean water.
- Paper tissues.
- Tape is optional since we won’t use wet techniques.
LIFETIME ACCESS OFFER
Lifetime access to 47 watercolor classes taught by a professional artist.
✅ Full library access, 47 classes
✅ Beginner to Advanced crash course
✅ All our ads-free YouTube videos
✅ Private Facebook group
✅ Real Teacher Feedback
✅ Optional Coaching Sessions

Watercolor Iris Tutorial
Sketch:
Take the time to properly evaluate a photo reference of our iris and sketch it out carefully. Be specific and avoid dark sharp pencil lines. That’s why a thin automatic pencil will do a good job here.
Here is a photo reference:

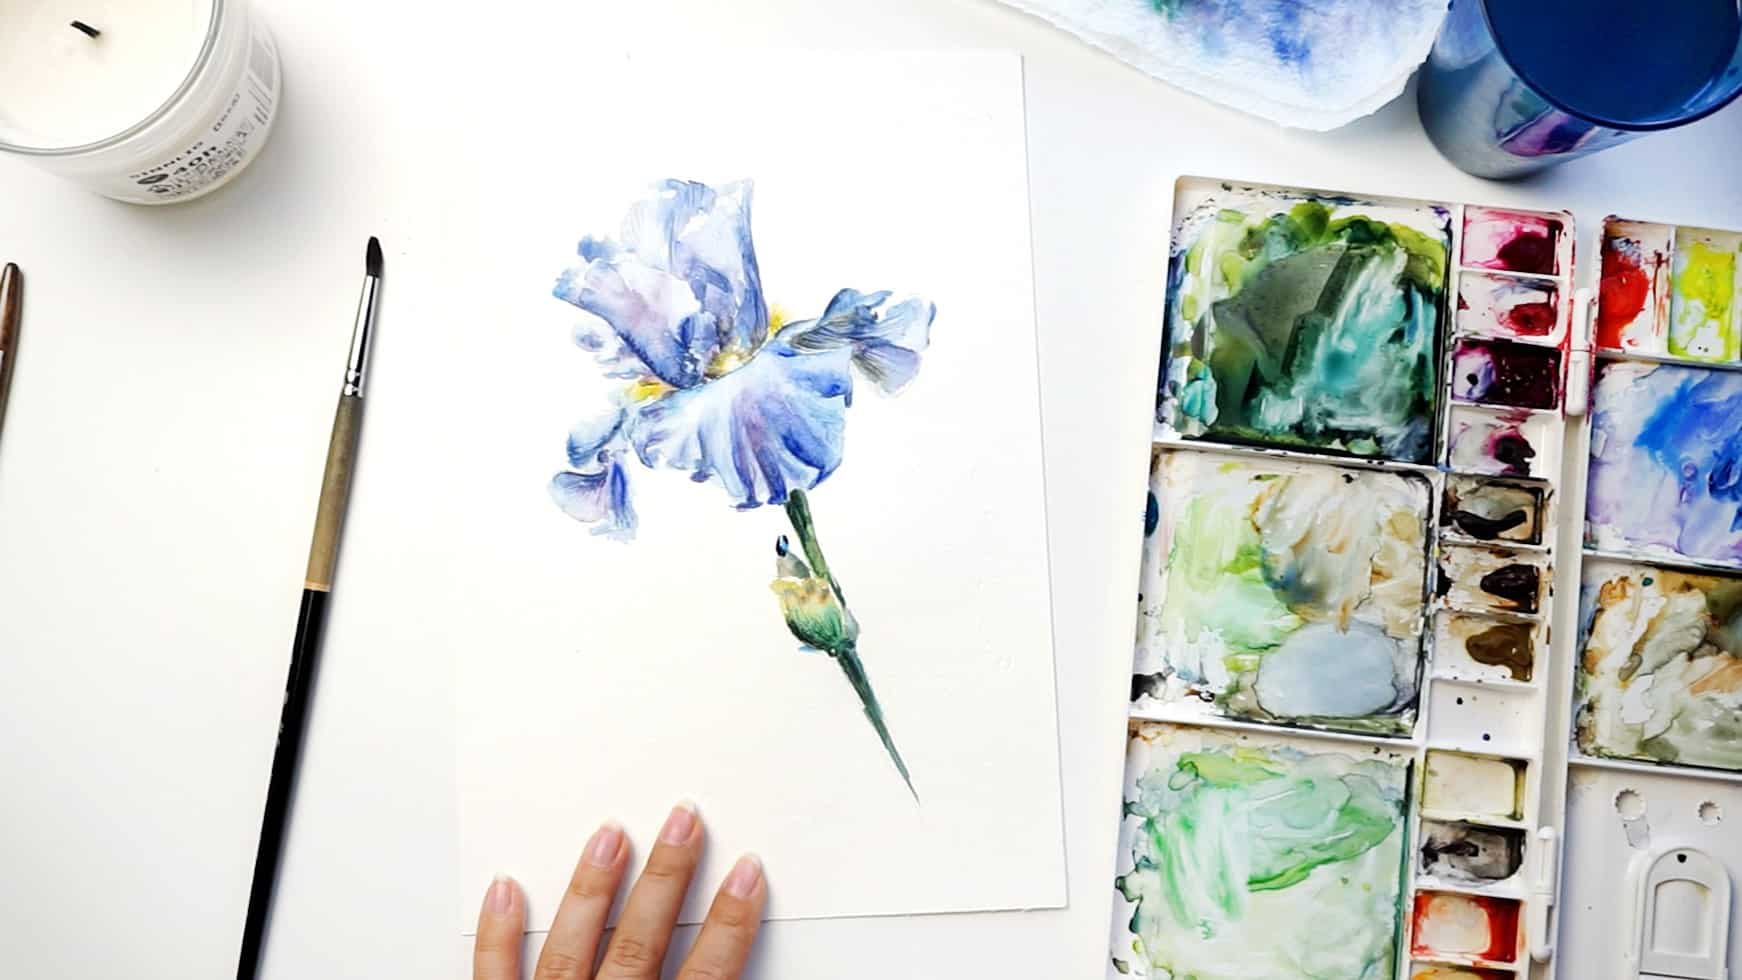
Here is also our sketch of the Iris:

It is such an elegant flower that we could not miss it, besides one of our followers on Instagram mentioned it as an interesting topic to paint. And we listen to our followers ?
Total Time: 1 hour
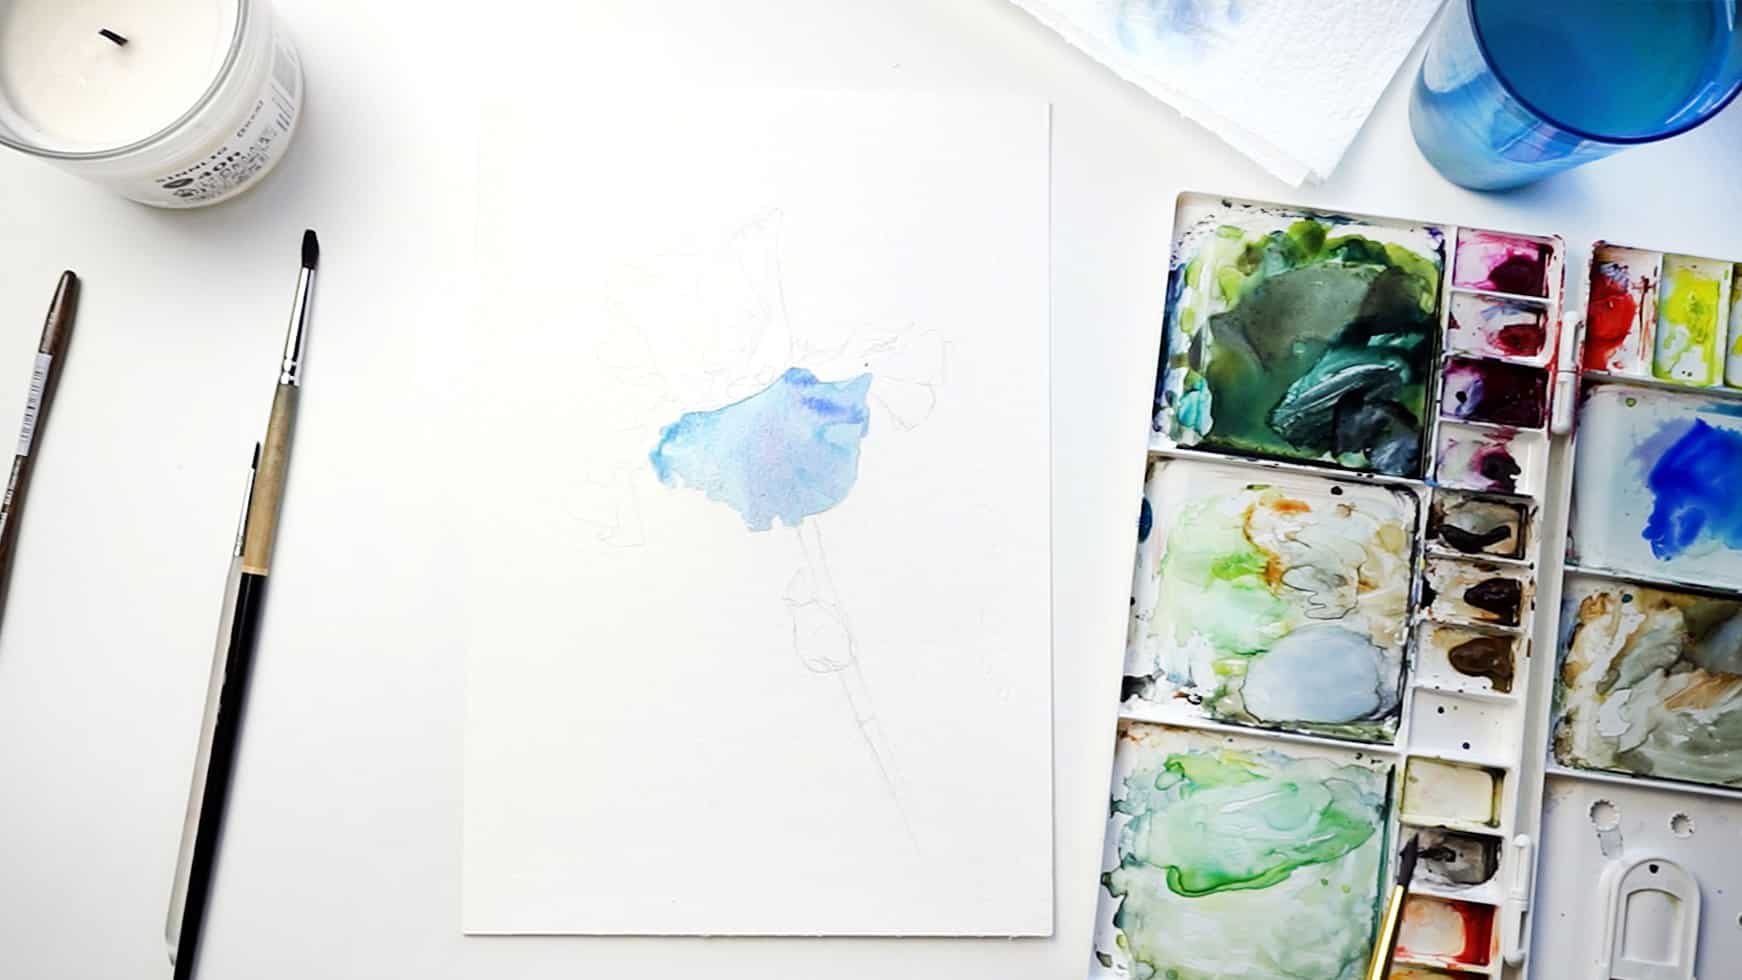
Step 1
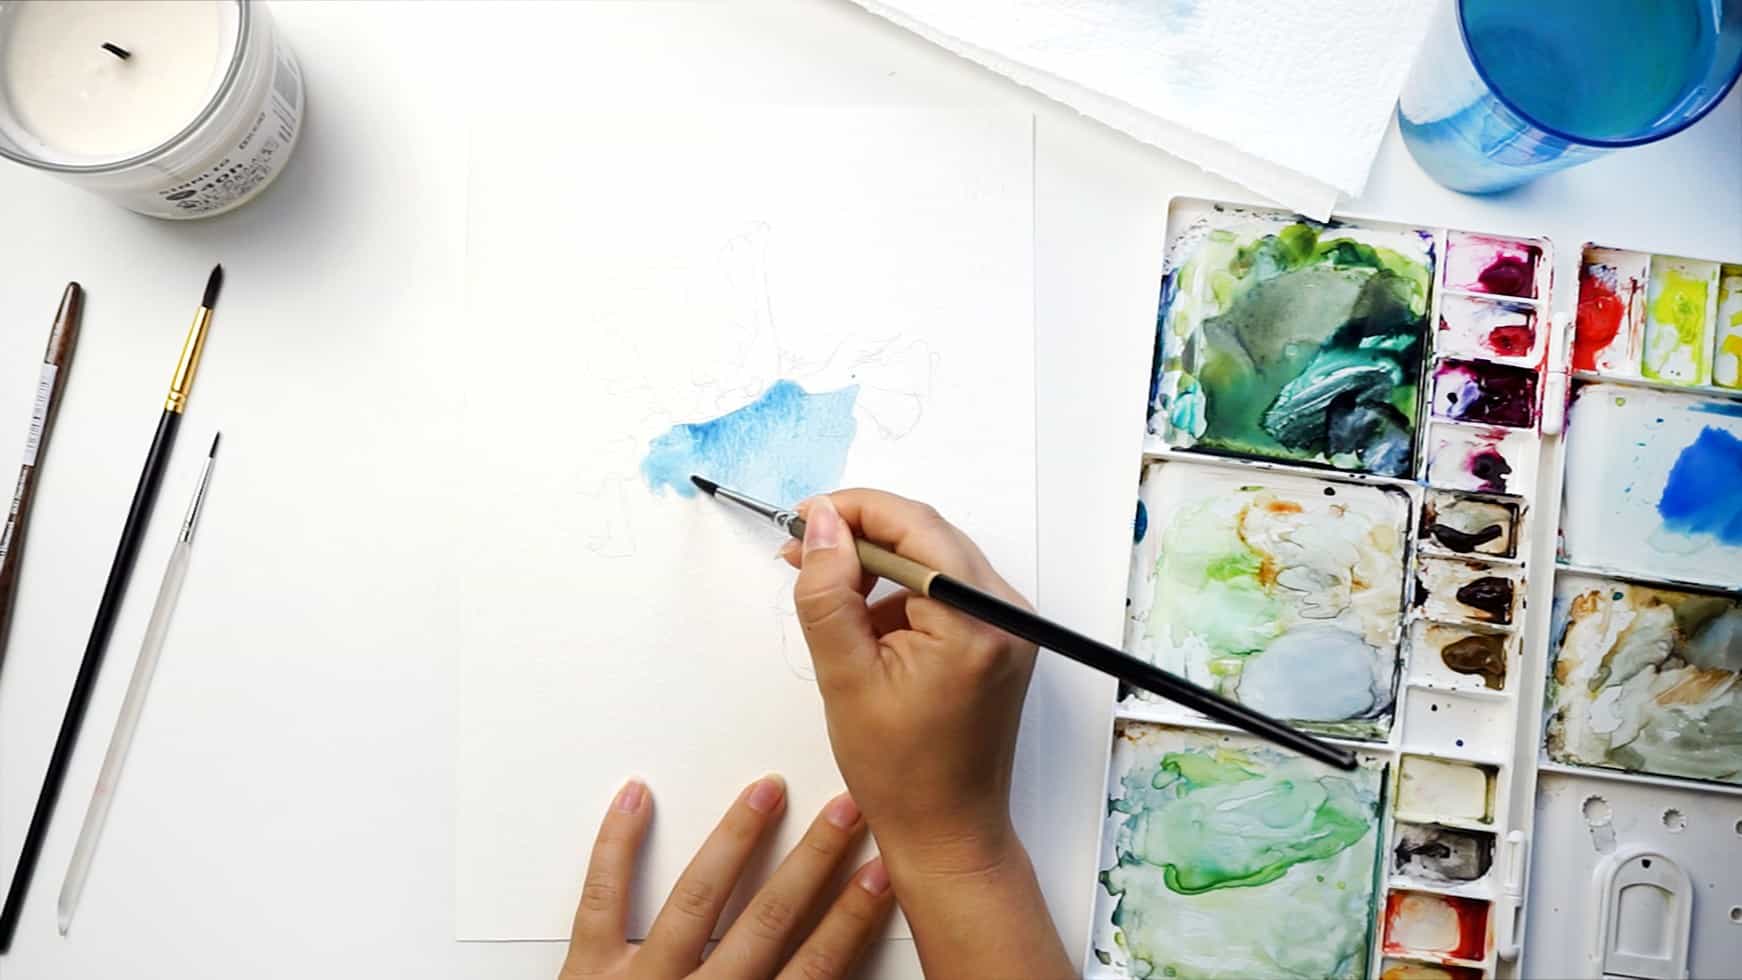
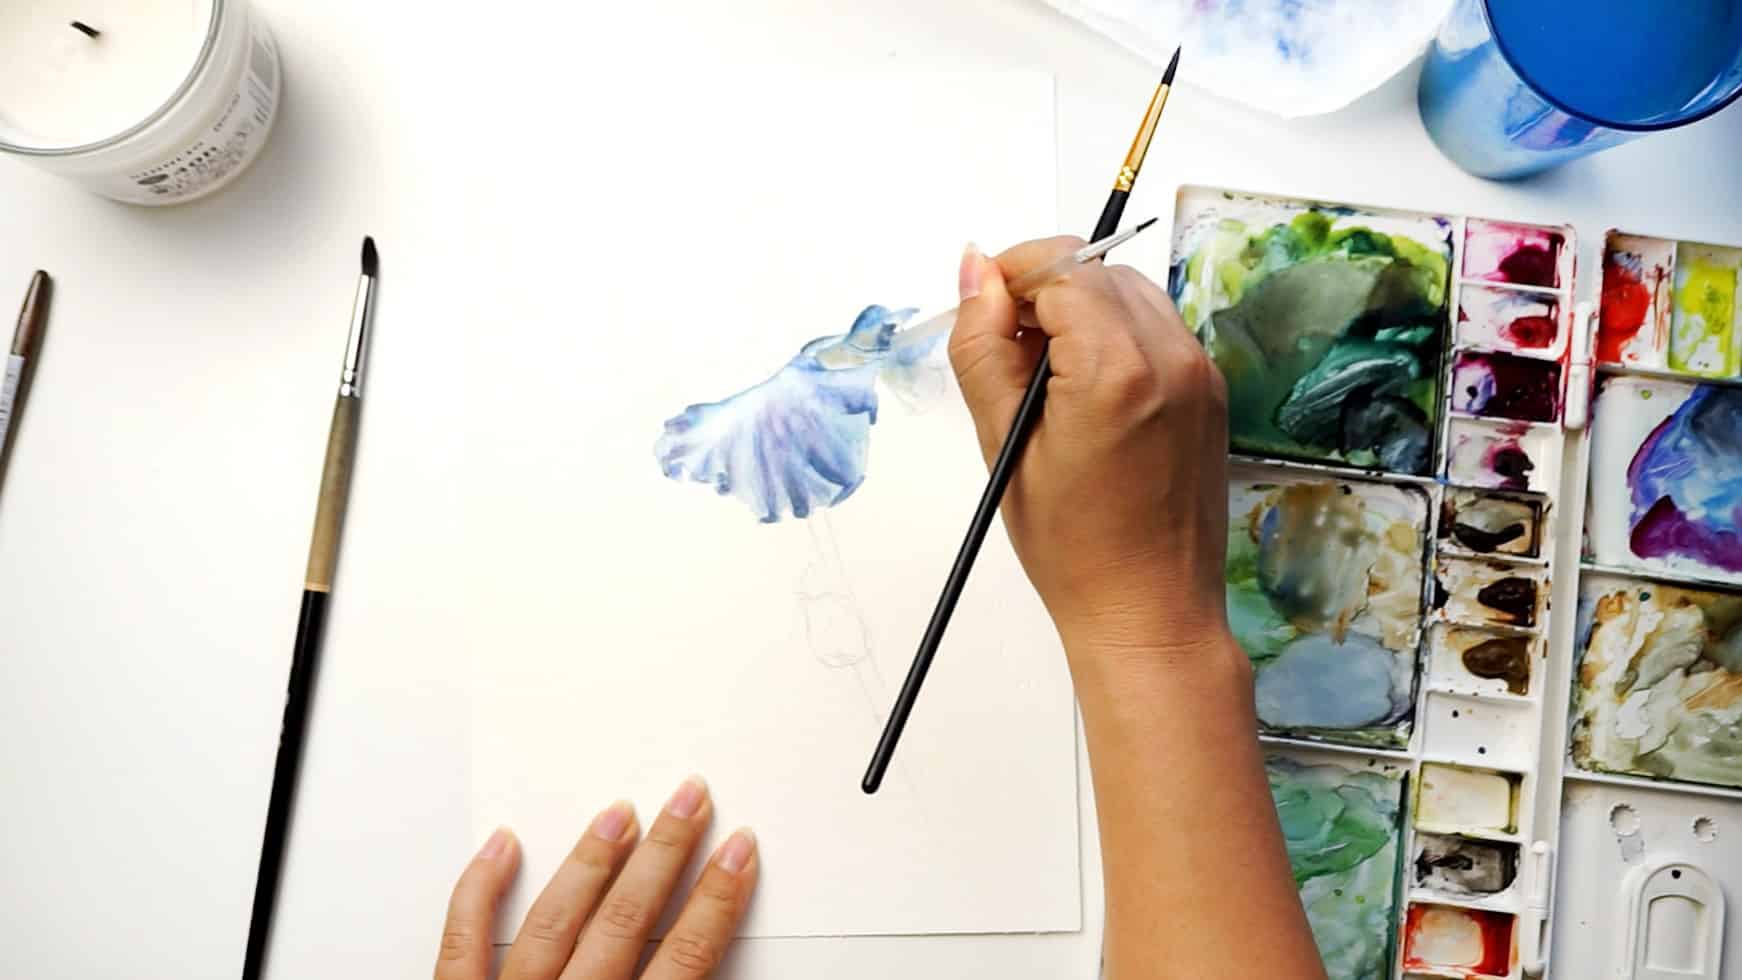
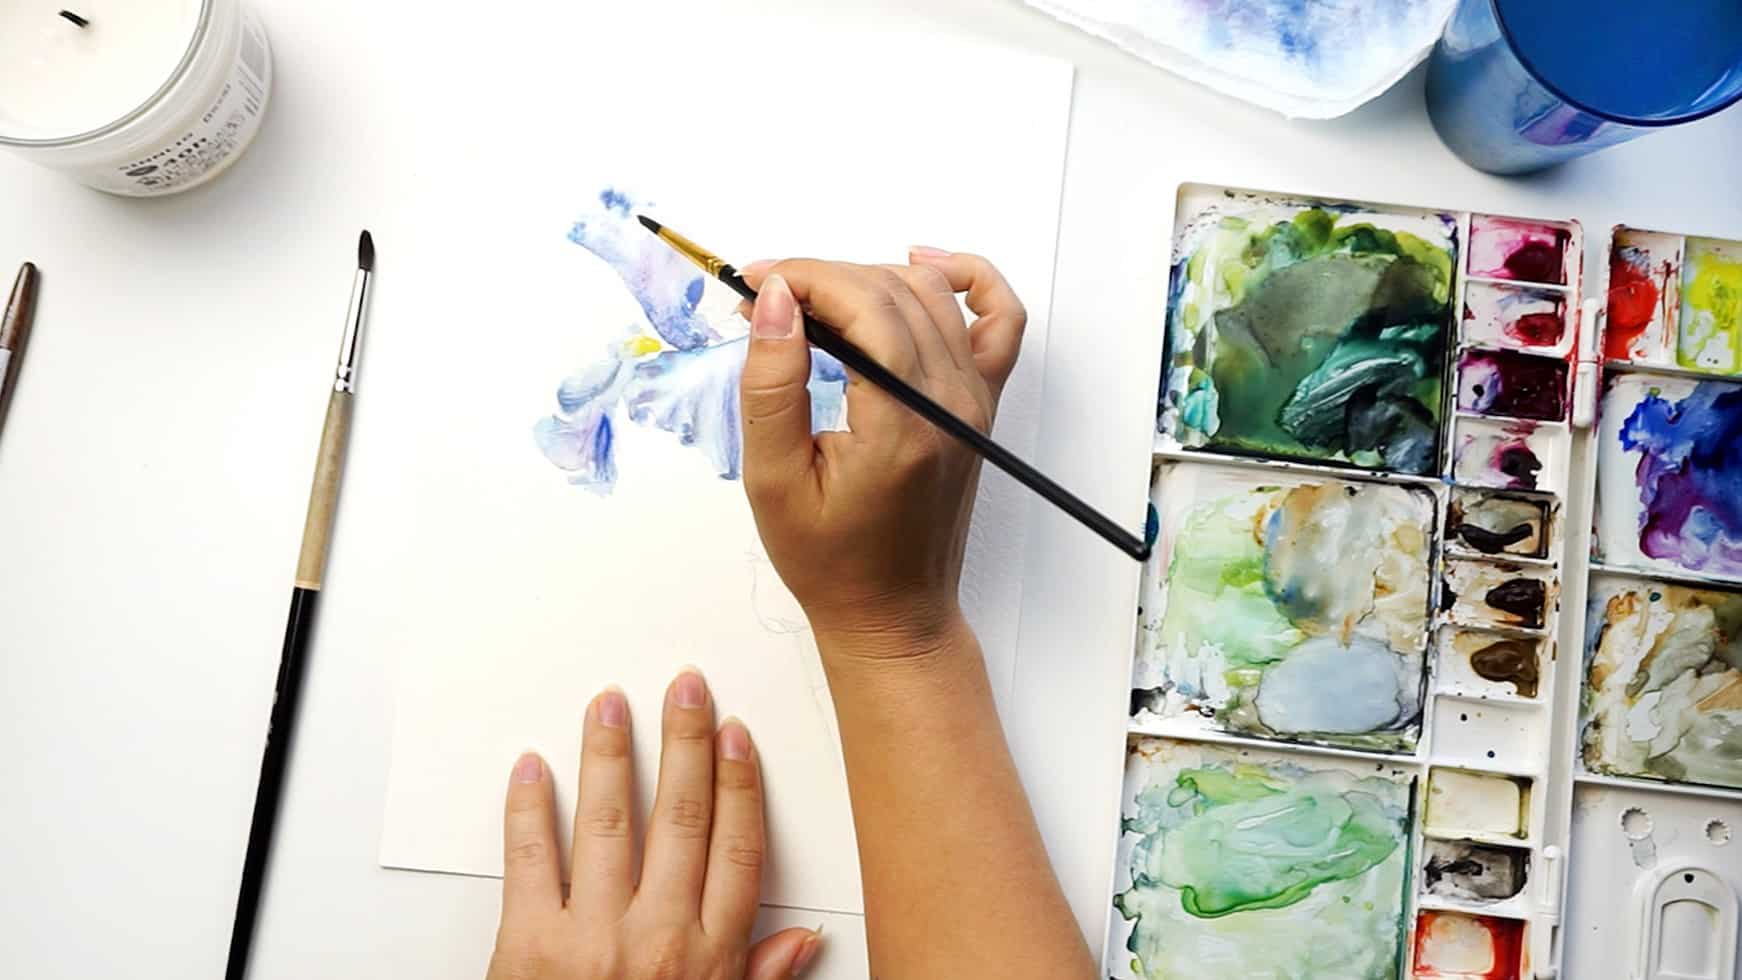
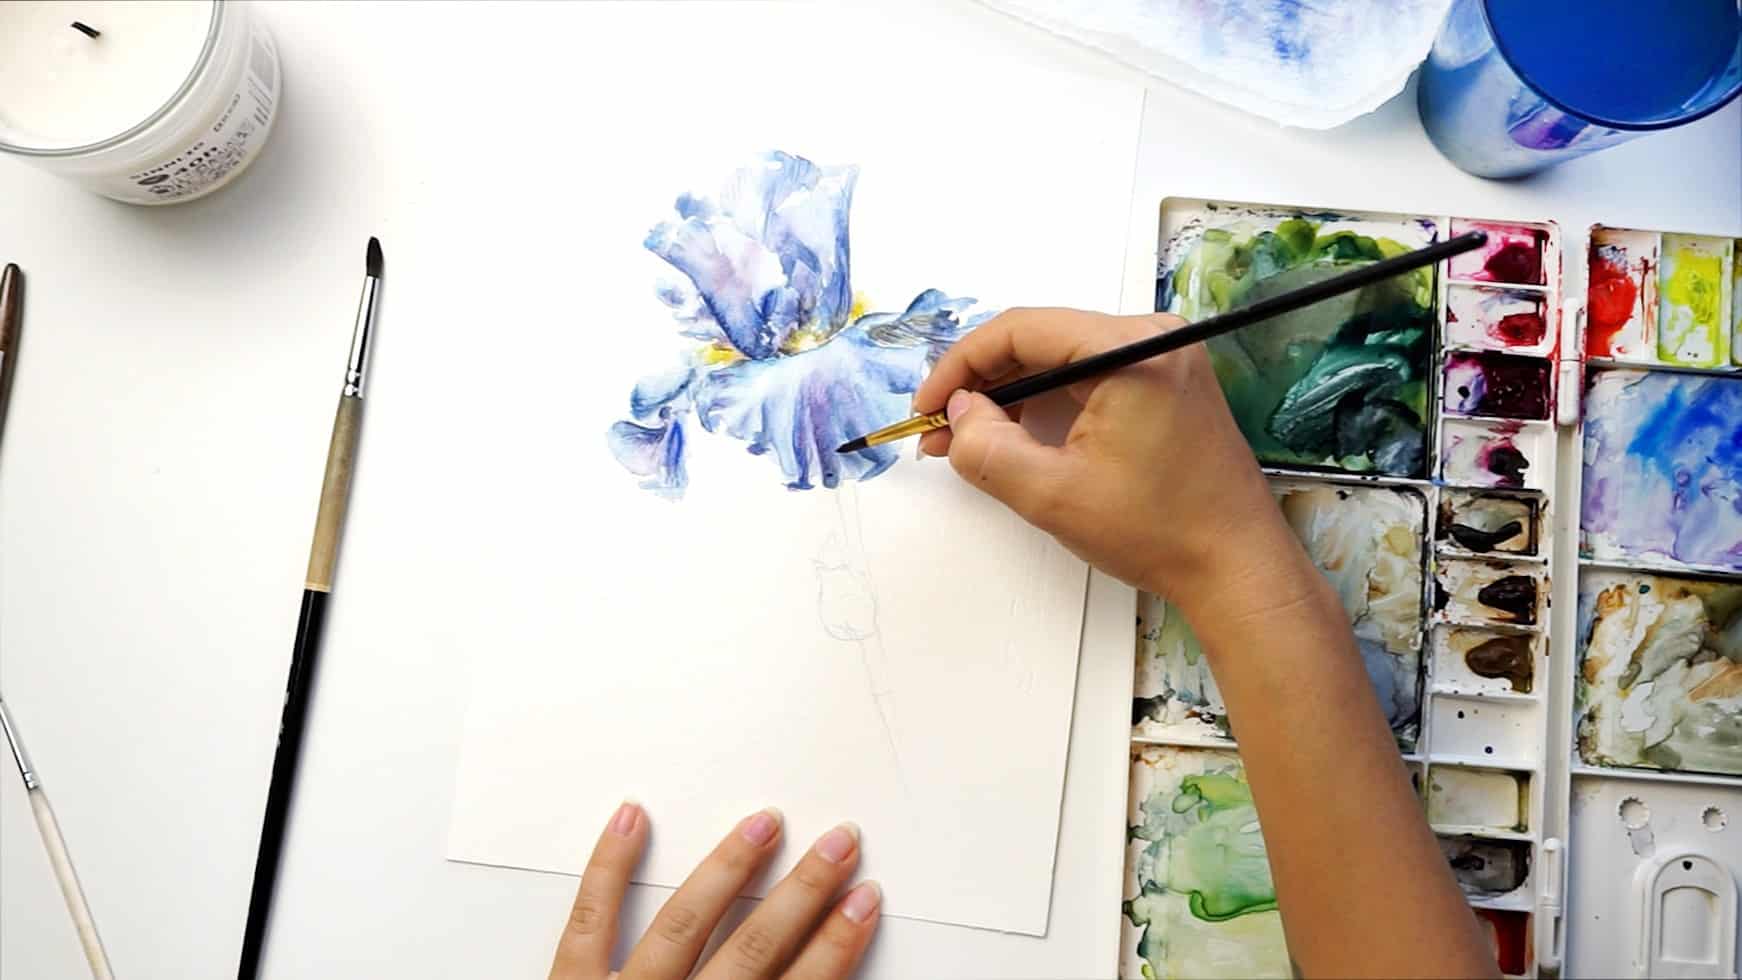
I chose the largest front petal for my first layer. Mix blue (I used a mix of Turquoise and Indanthrene), add enough water to achieve a watery mix and make a stroke.
Use a natural brush to make sure your wash won’t be too dry. Pull it down and cover the patel evenly.
Since you have enough water on your brush the layer will be pretty wet and lay down smoothly.
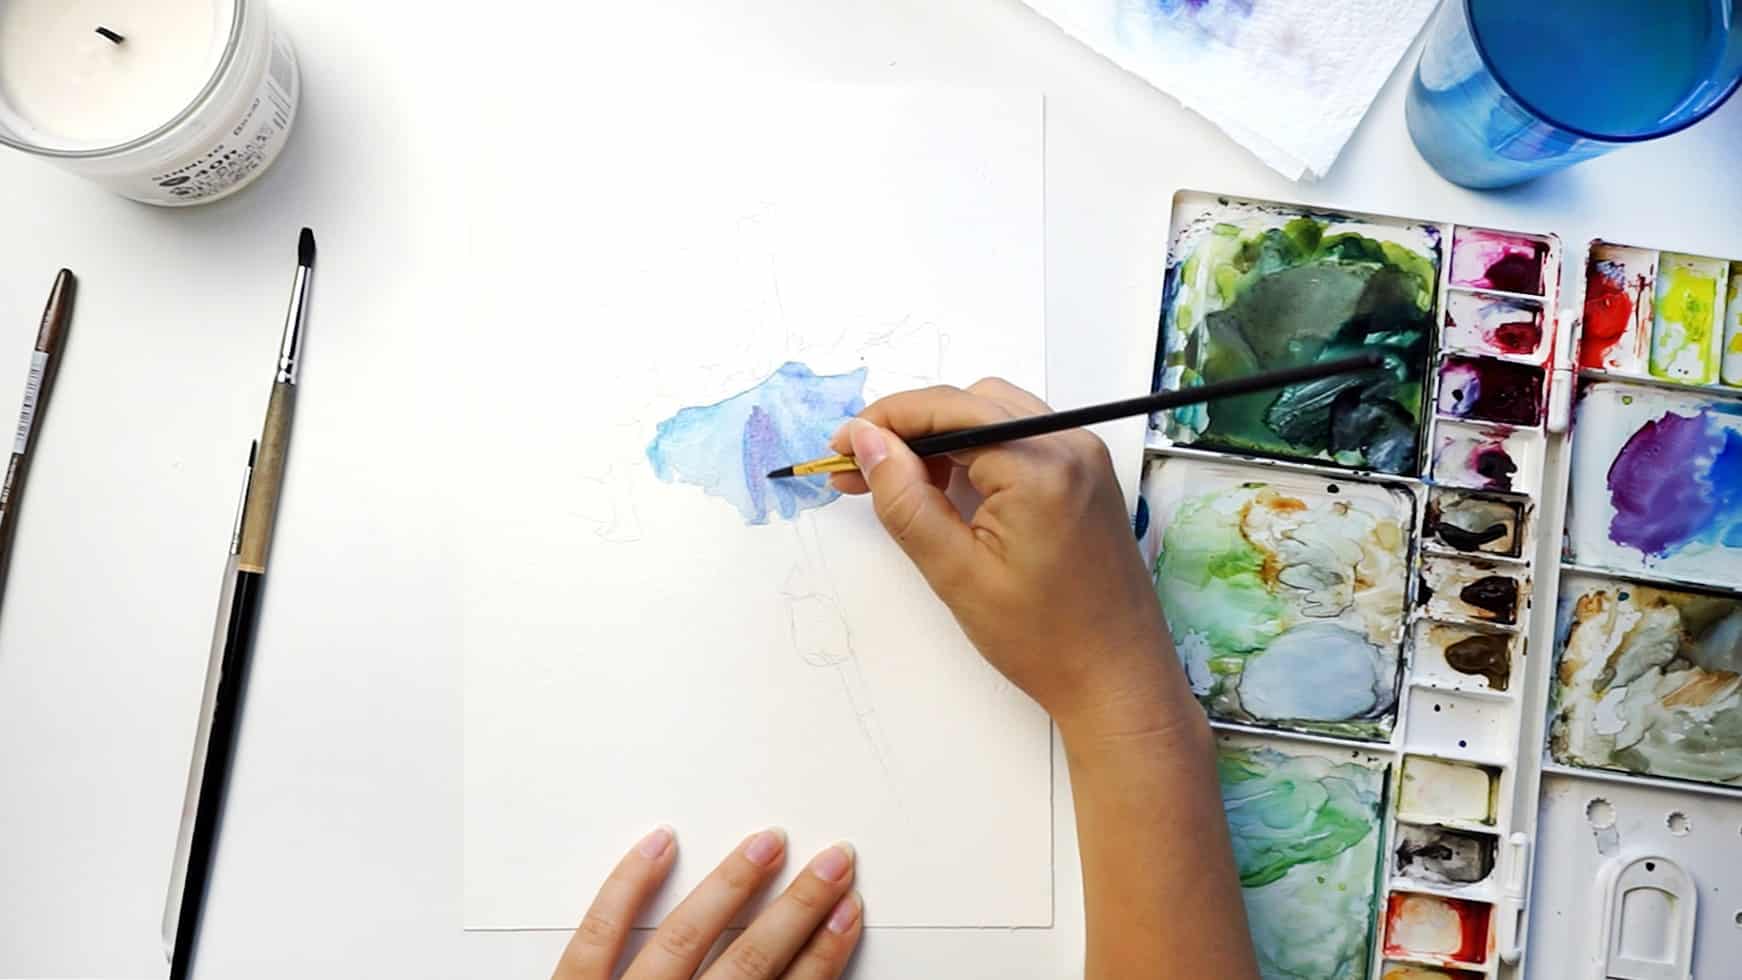
Step 2
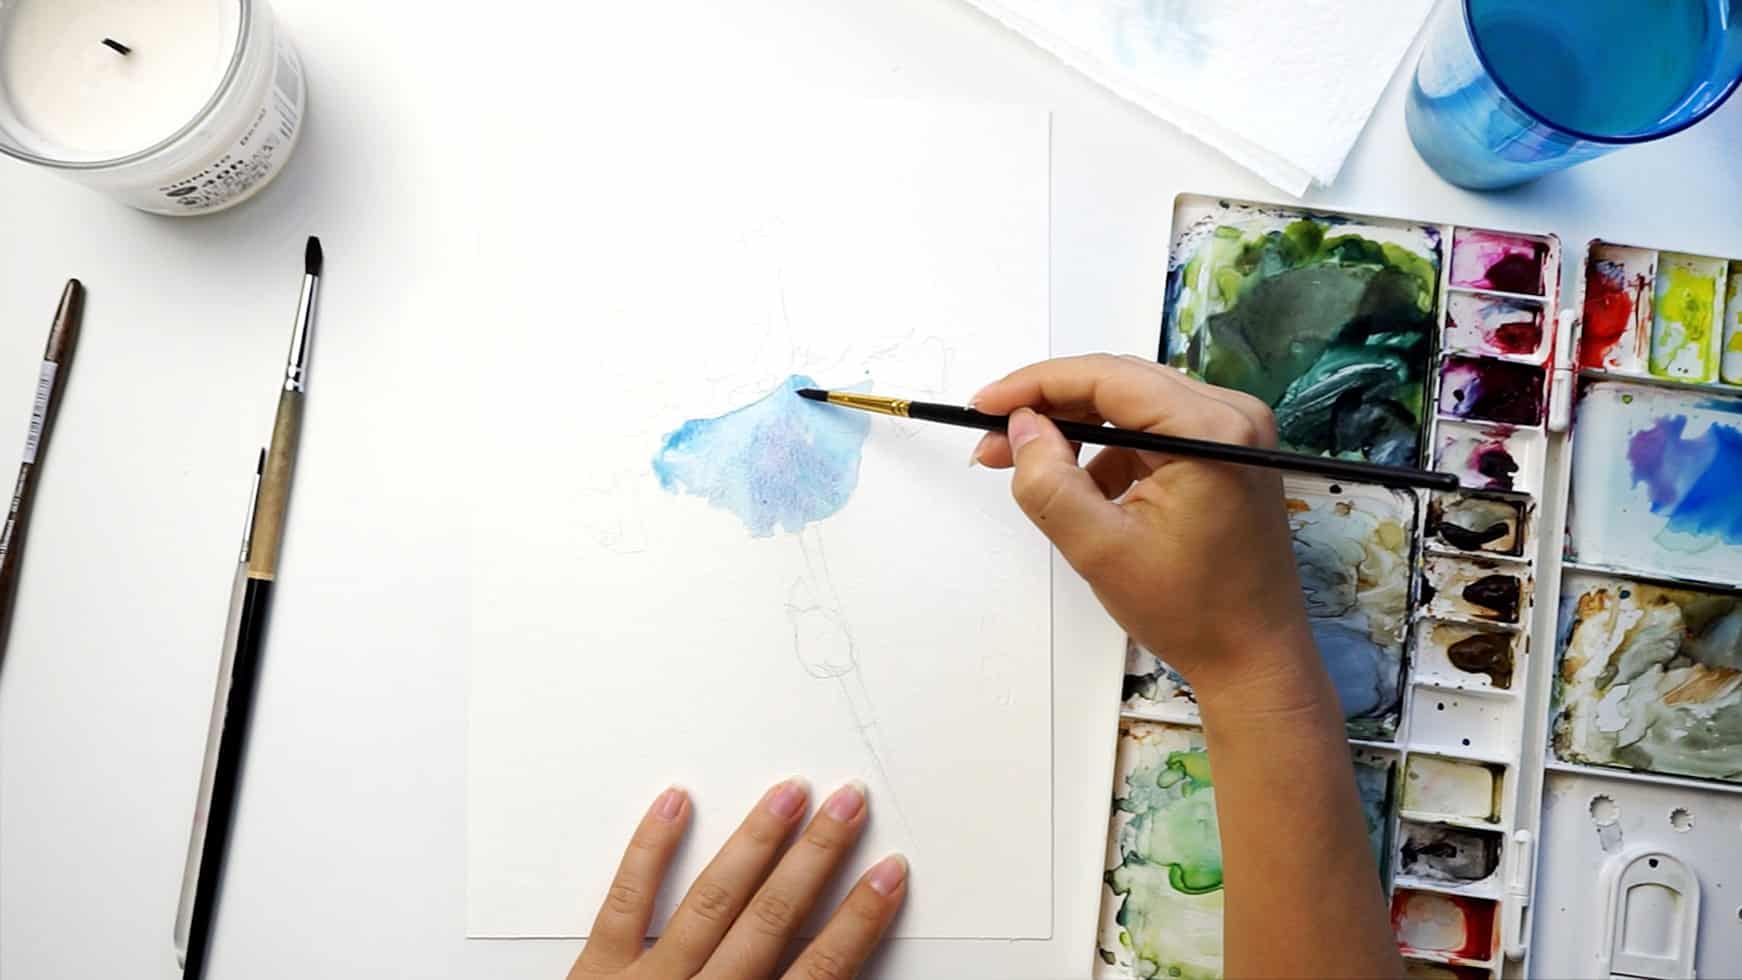
I added a tiny drop of Quinacridone (any violet/pink will do) to my mix of blue and worked through shadows on the petal. This goes on top of wet layer so colors mix smoothly.
Step 3
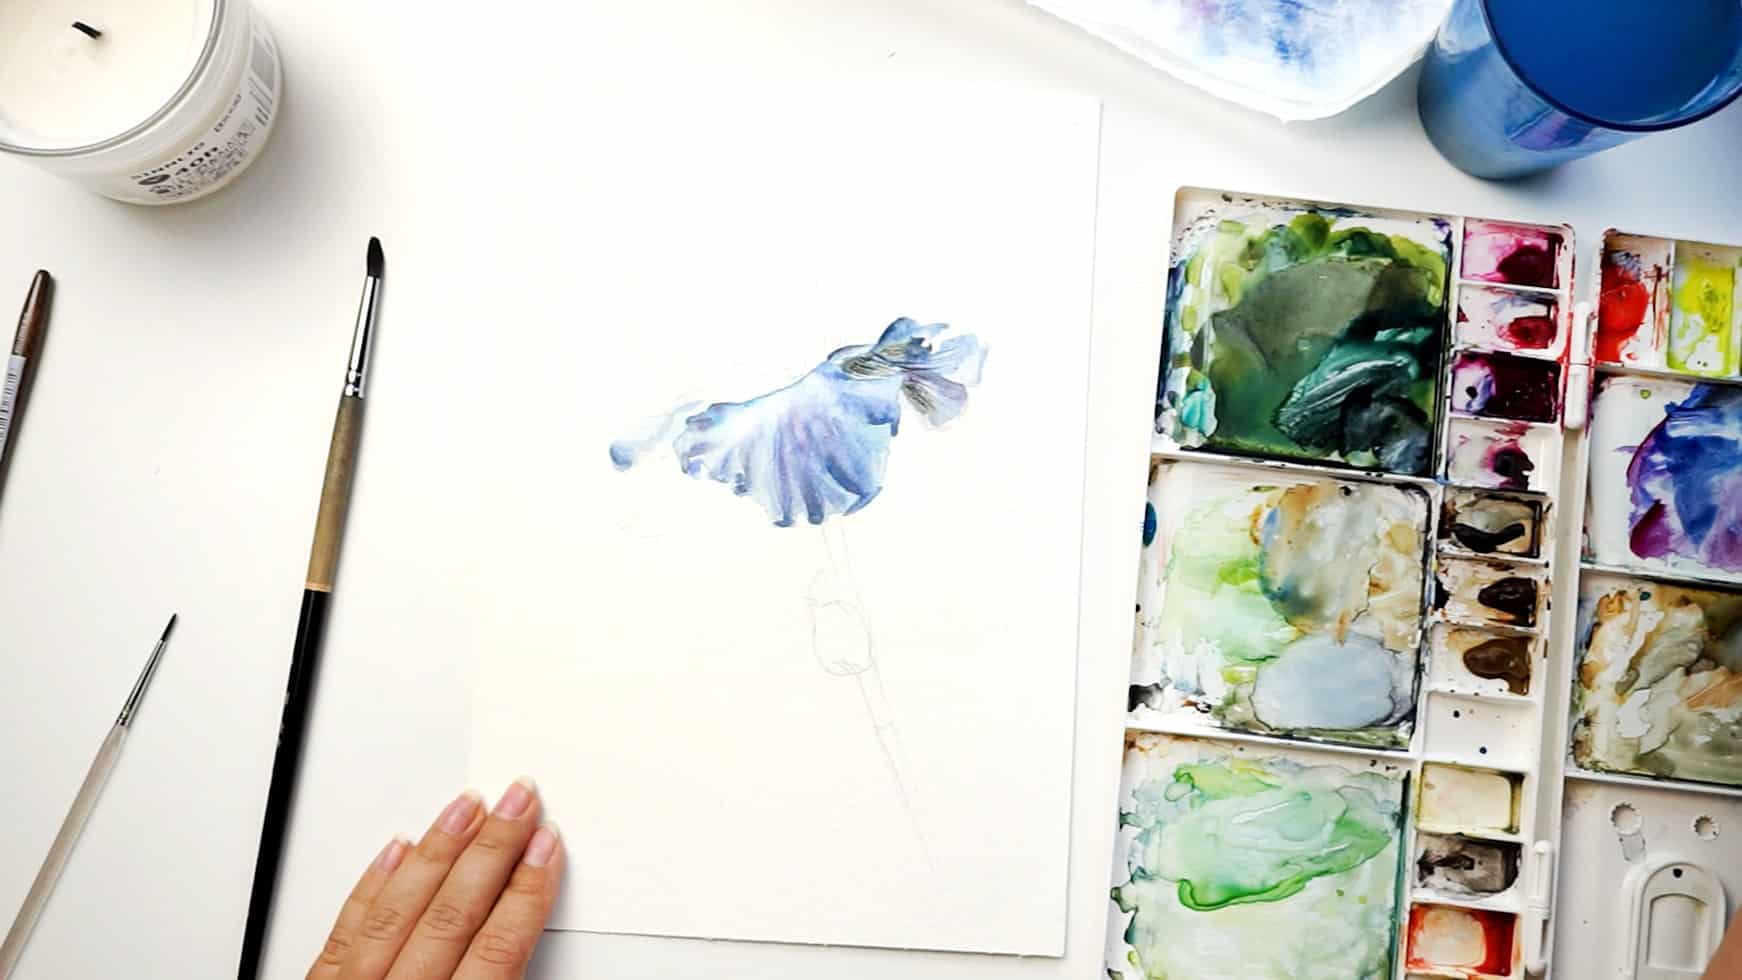
With more concentrated blue tone (Blue Indanthrene) I worked through folds of the petal. Make sure you don’t leave sharp lines on your petal. It is a first wash and you want everything to be blended and smooth.
Step 4
Our layer is light and transparent, so go ahead and apply another darker tone in between folds, to indicate a shadow in that area. But do it only if needed. If your first shadows already turned out dark enough then skip this step.
Step 5
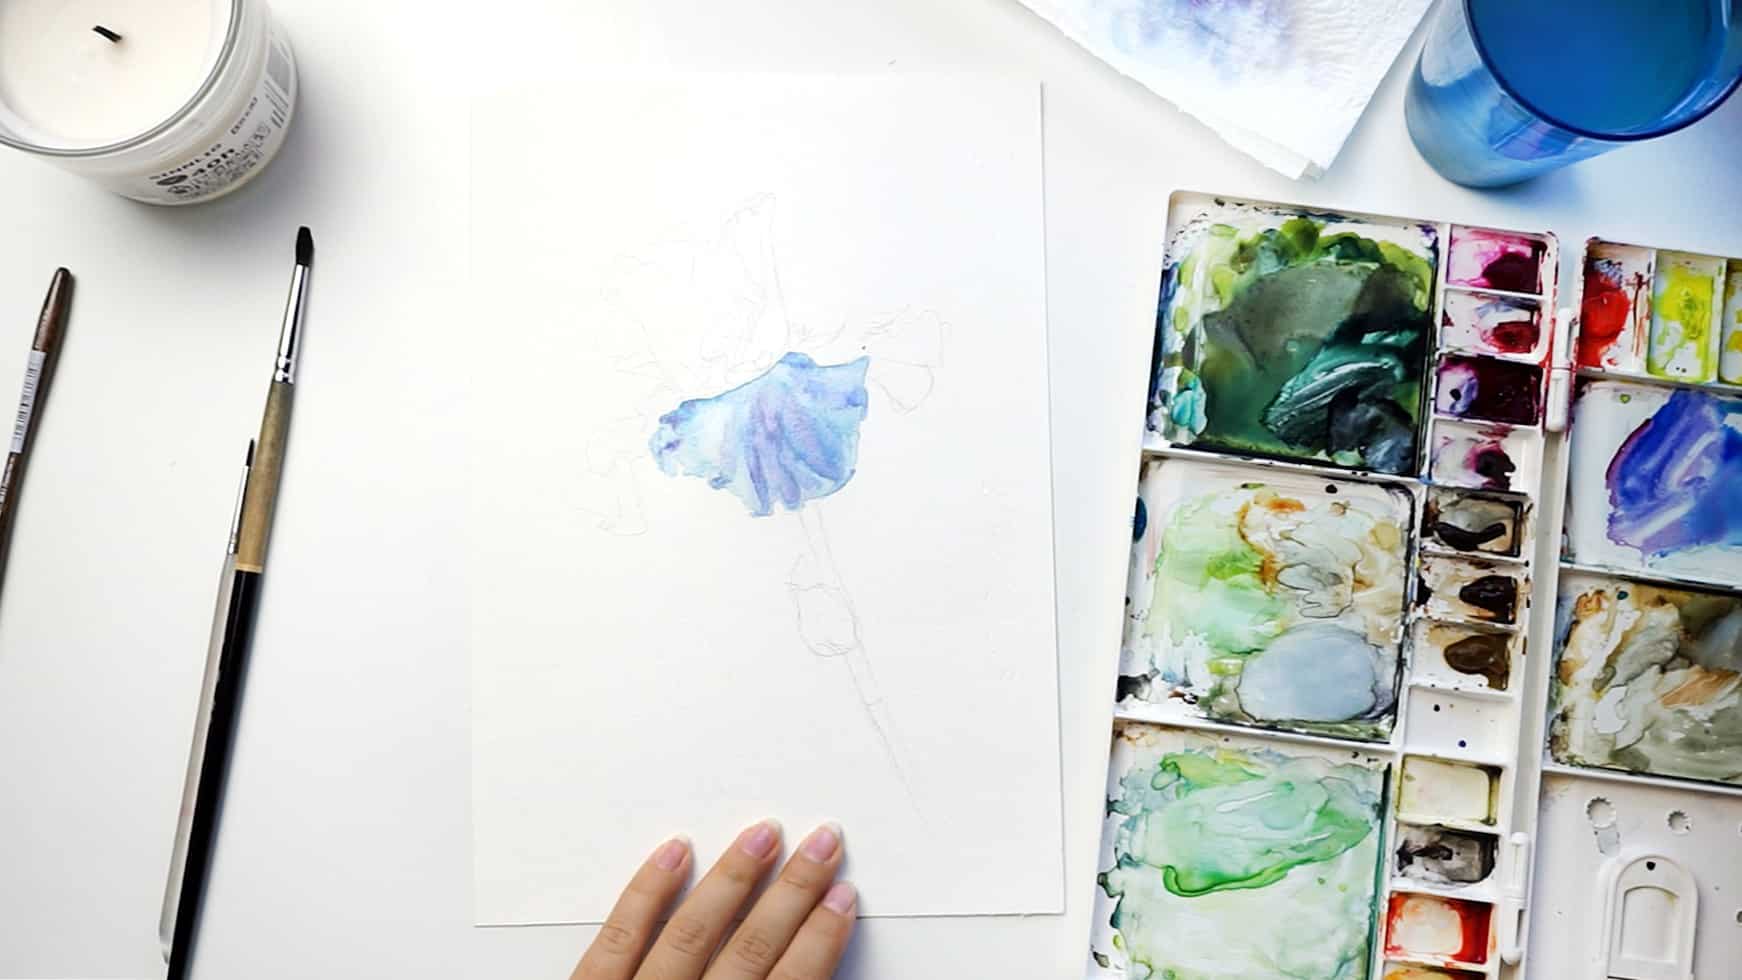
I wanted shadows to be more pronounced so that the petal looks to be bent in a few places. So I clarified the lines that demonstrated the bend.
Step 6
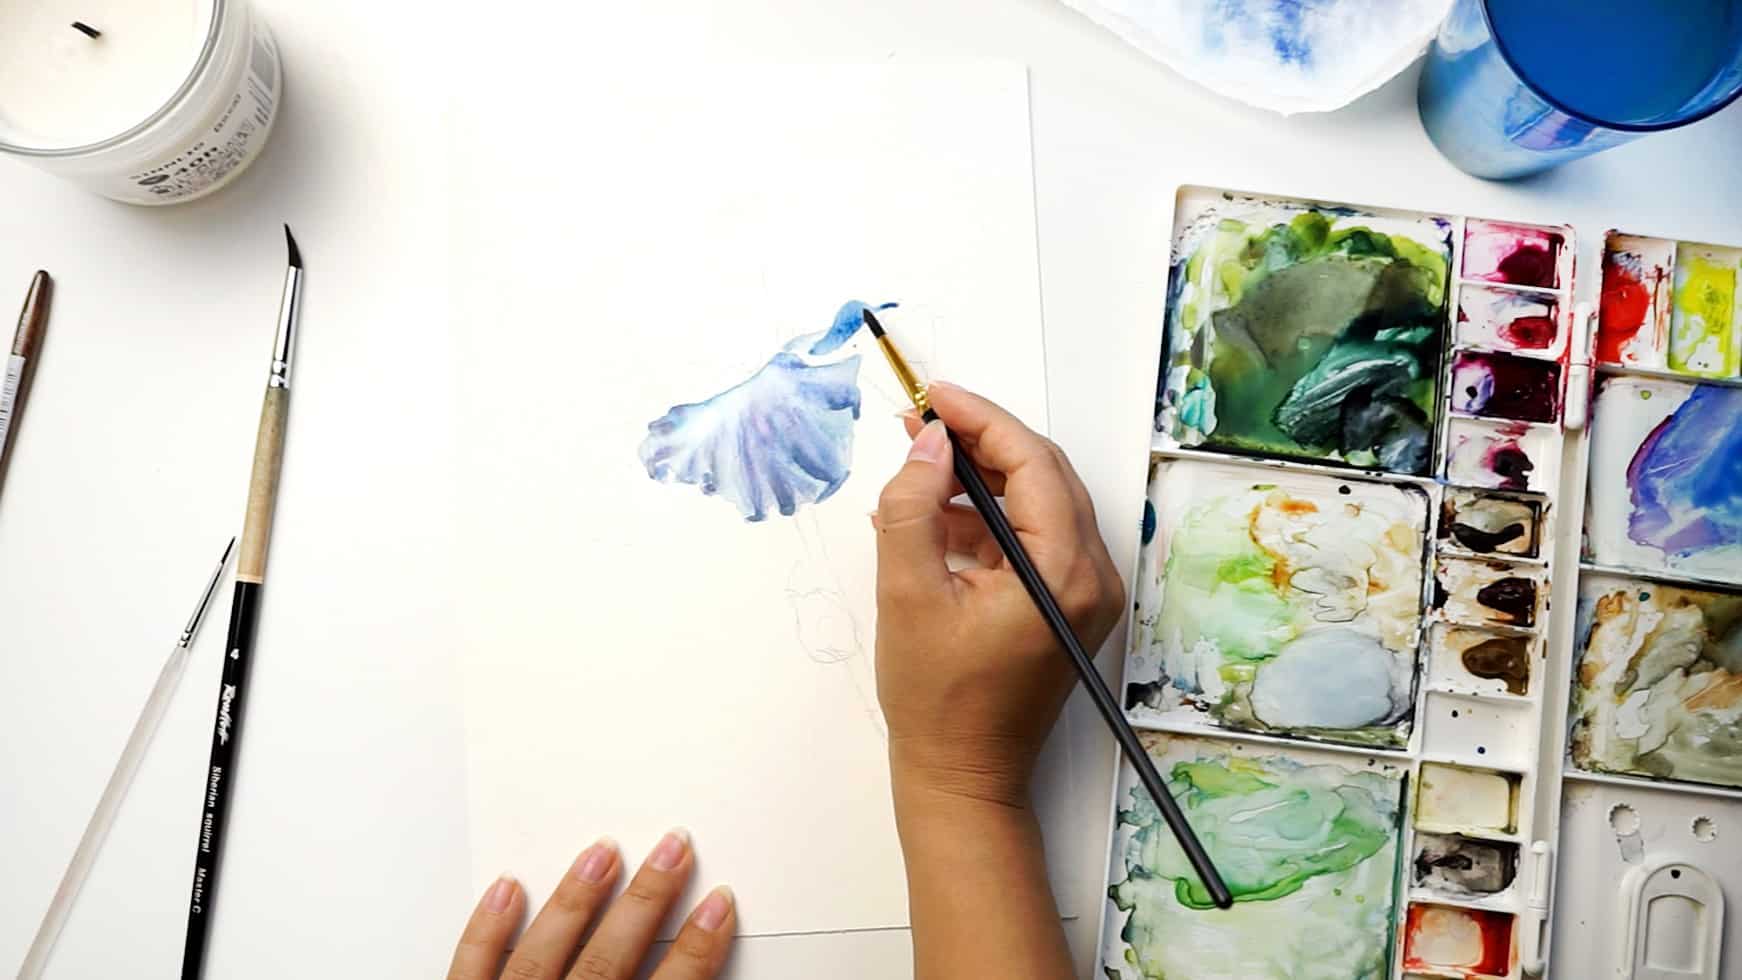
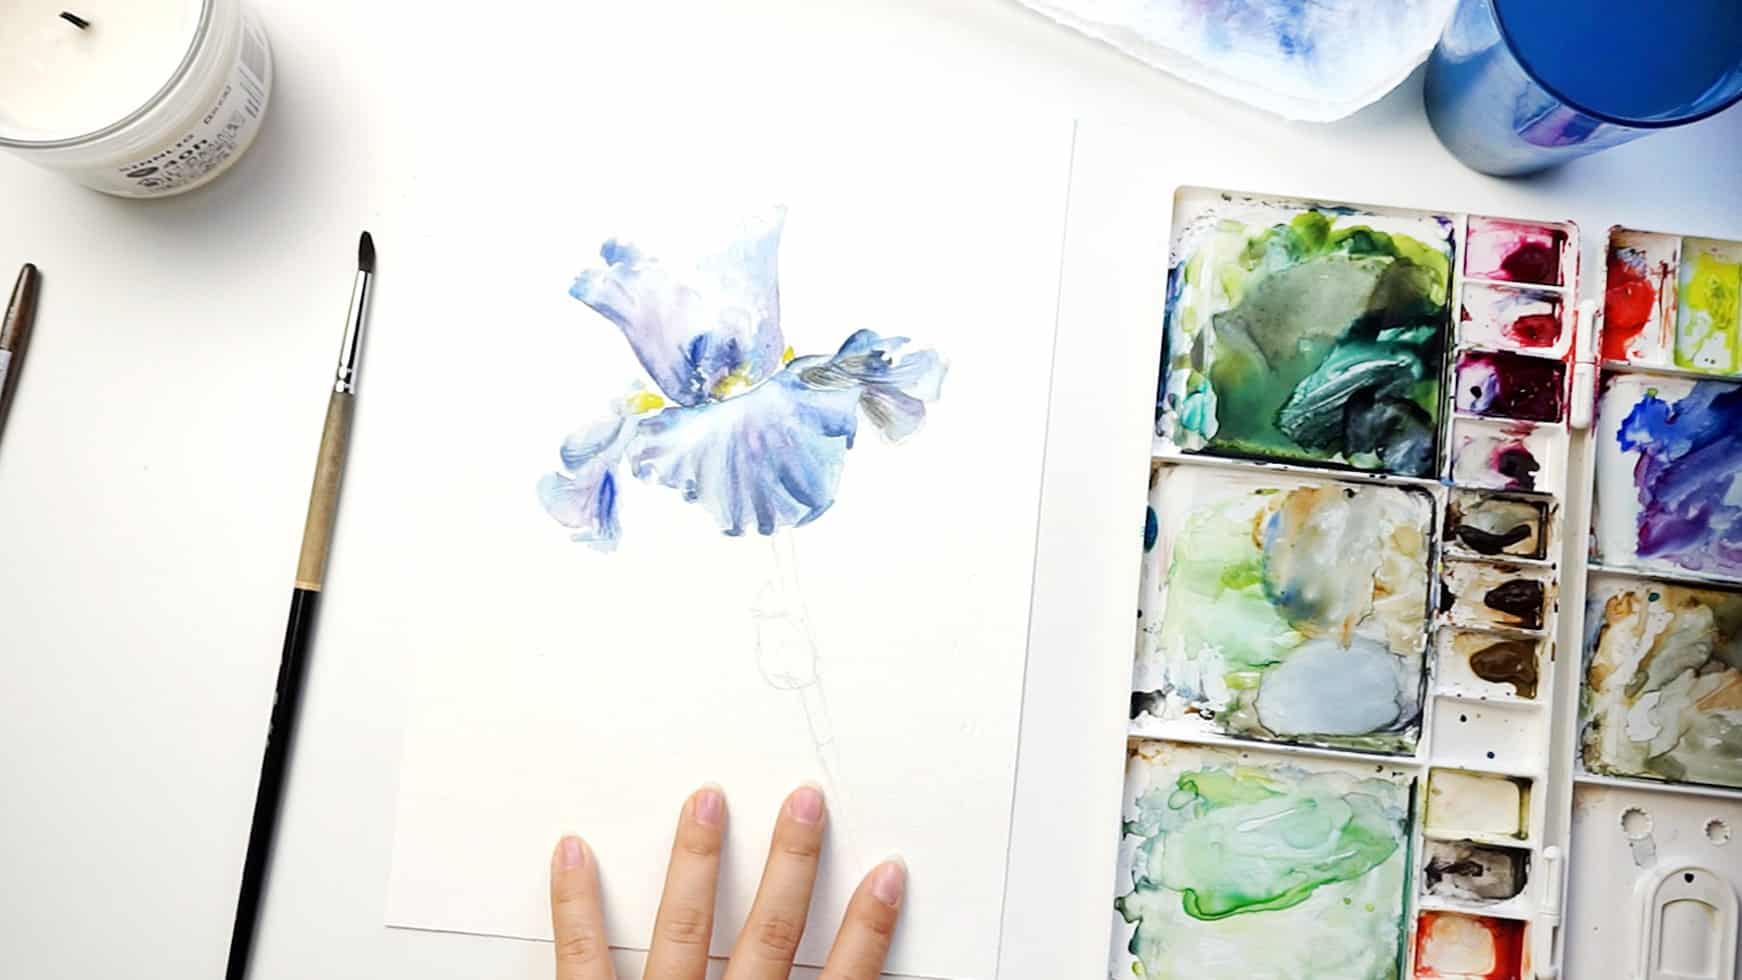
Time to move to other petals. I’ve got blue (Phthalo Blue) which is brighter than my first petal.
Step 7
Paint that petal by pulling down your first blue stroke and extending it throughout the petal. I also added Raw Sienna (any light brown) to separate from the front petals. With the opposite pointy end of my brush I created (scratched) tiny lines indicating veins of the petal. This looks way more natural than trying to paint the veins with actual brush bristols.
Step 8
Third slice-triangle should be painted the same way as the previous two: clean water on triangle area first, then red paint unevenly distributed on the triangle. I repeated the shape of watermelon from the reference, and painted a little notch with a more concentrated red paint. Bottom side of this slice also has more concentrated color (the slice is rotated to us the way that we see more of the bottom than the top so we need to showcase its volume).
Step 9
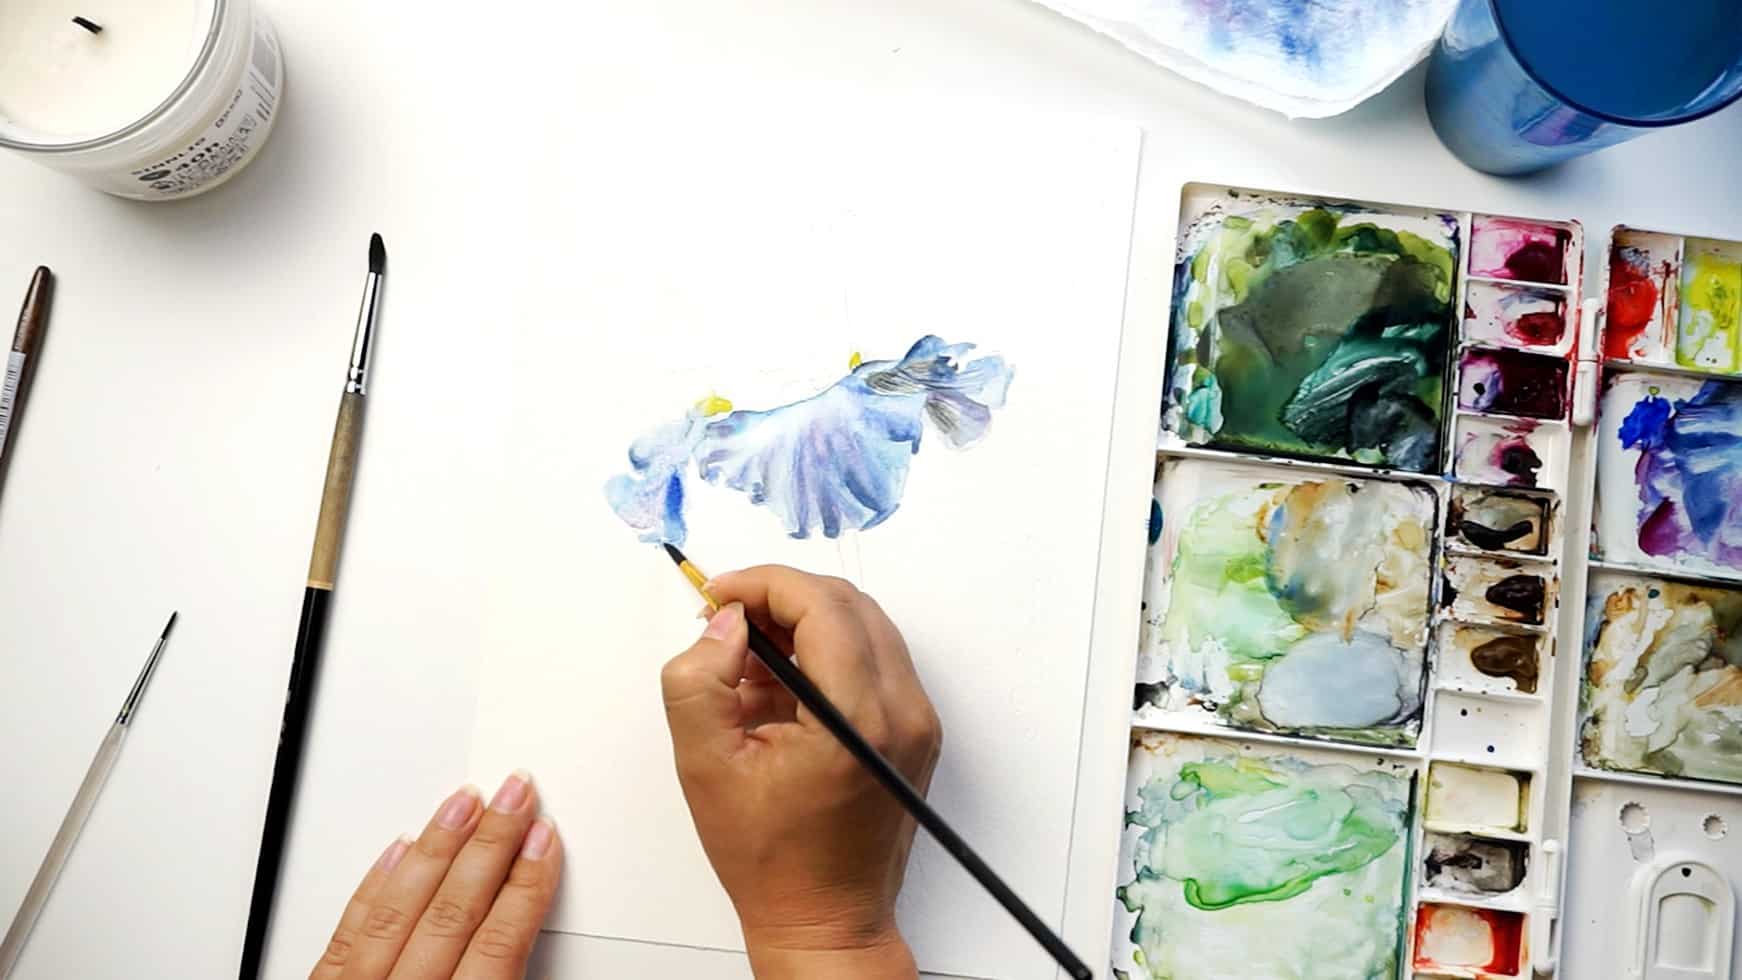
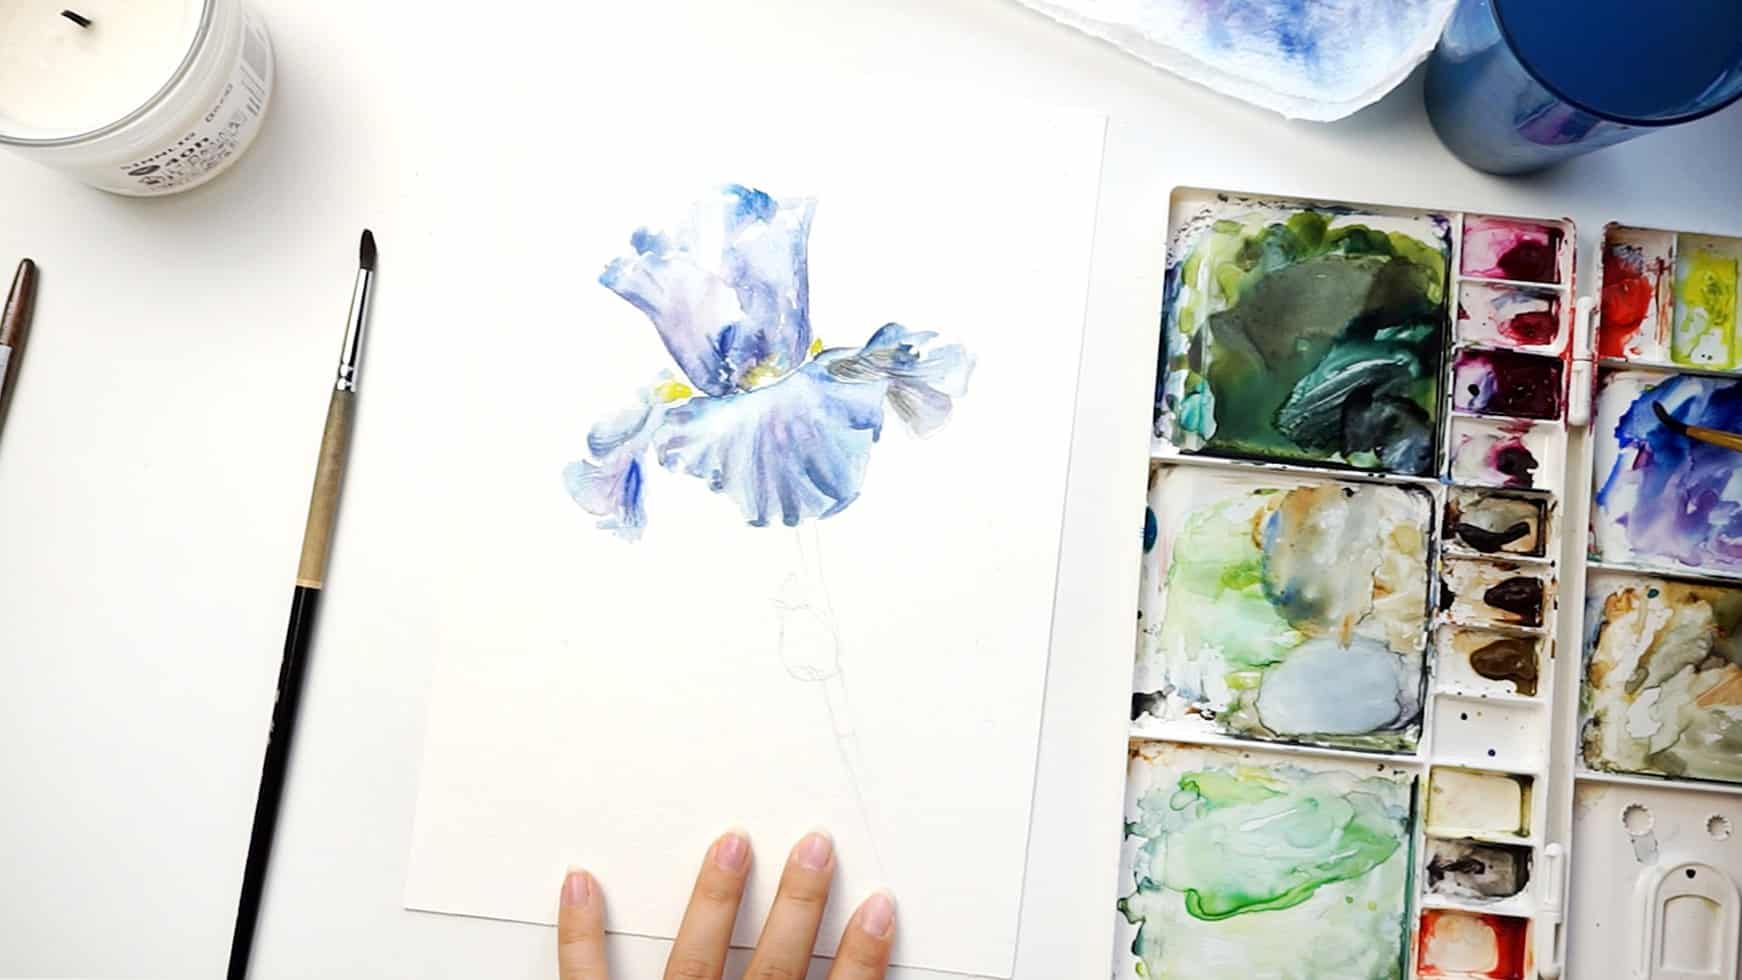
Paint the petal on the left giving the rest of the flower time to dry. This petal is bent and curled, show this by indicating shadows (between the folds) instead of outlining the petal like in a coloring book. Add yellow spots to mark that place.
Step 10
Balance out the veins on your left petal by adding delicate strokes with the other (pointy) end of your brush. Same as we did on the petal on the right side. To make those veins “slide” easy add another drop of paint (Quinacridone in my case) so there is some liquid to move with the brush. Otherwise you will just scratch the paper surface.
Step 11
Paint the top petal with the light blue adding more concentrated drops on the top and bottom of it. While the layer is still wet I injected quinacridone (any violet) and let it blend.
Step 12
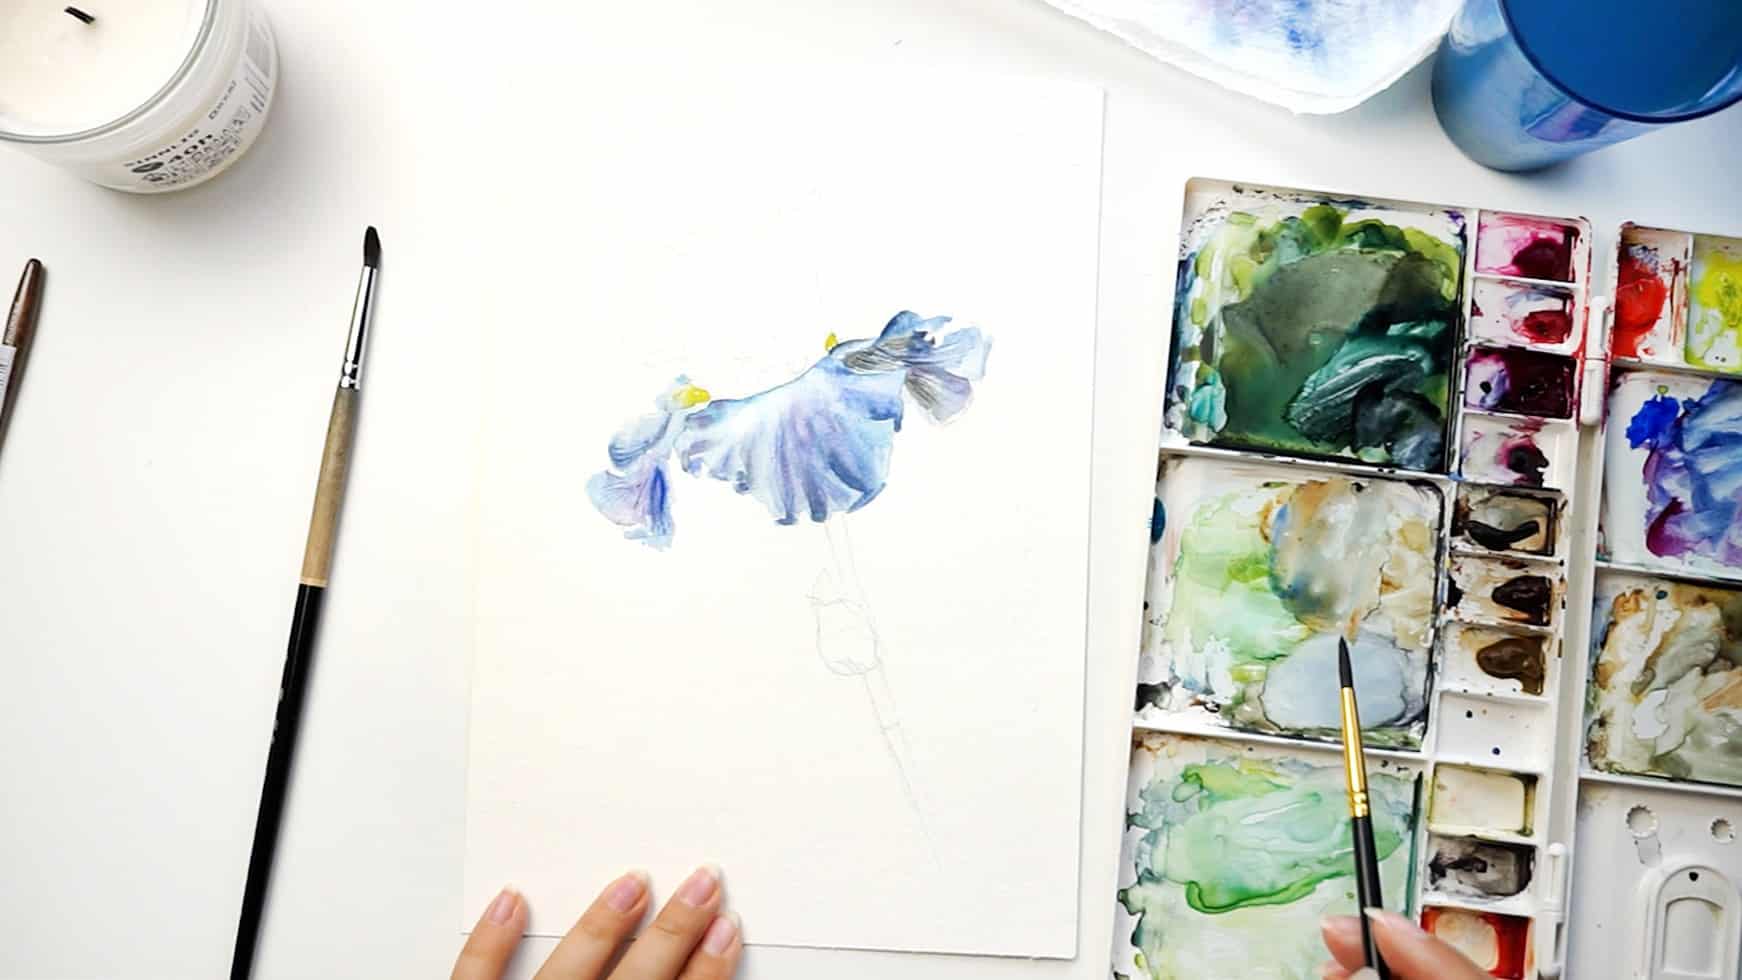
Right top petal comes into the picture. I add a little of Quinacridone on each petal to keep color balance around the flower. It’s important to separate the two petals with a concentrated tone in the heart of the flower (so that those petals won’t blend into one).
Step 13
With a super transparent blue (Turquoise) layer create the background petal which unites the two petals we’ve been working on. This small detail will make your flower look complete.
Step 14
If you look at the photo reference you will notice a part of the top right petal being in shadow (or slightly darker). I want to recreate that feeling by adding a mix of Quinacridone and Blue (Indanthrene or Ultramarine) to one side of that petal.
Step 15
Now let’s give the top petals some rest and move back to the bottom ones. I wanted to make the color range even more exciting by adding fresh layer of Quinacridone and Blue mix onto the shadows (between folds).
Step 16
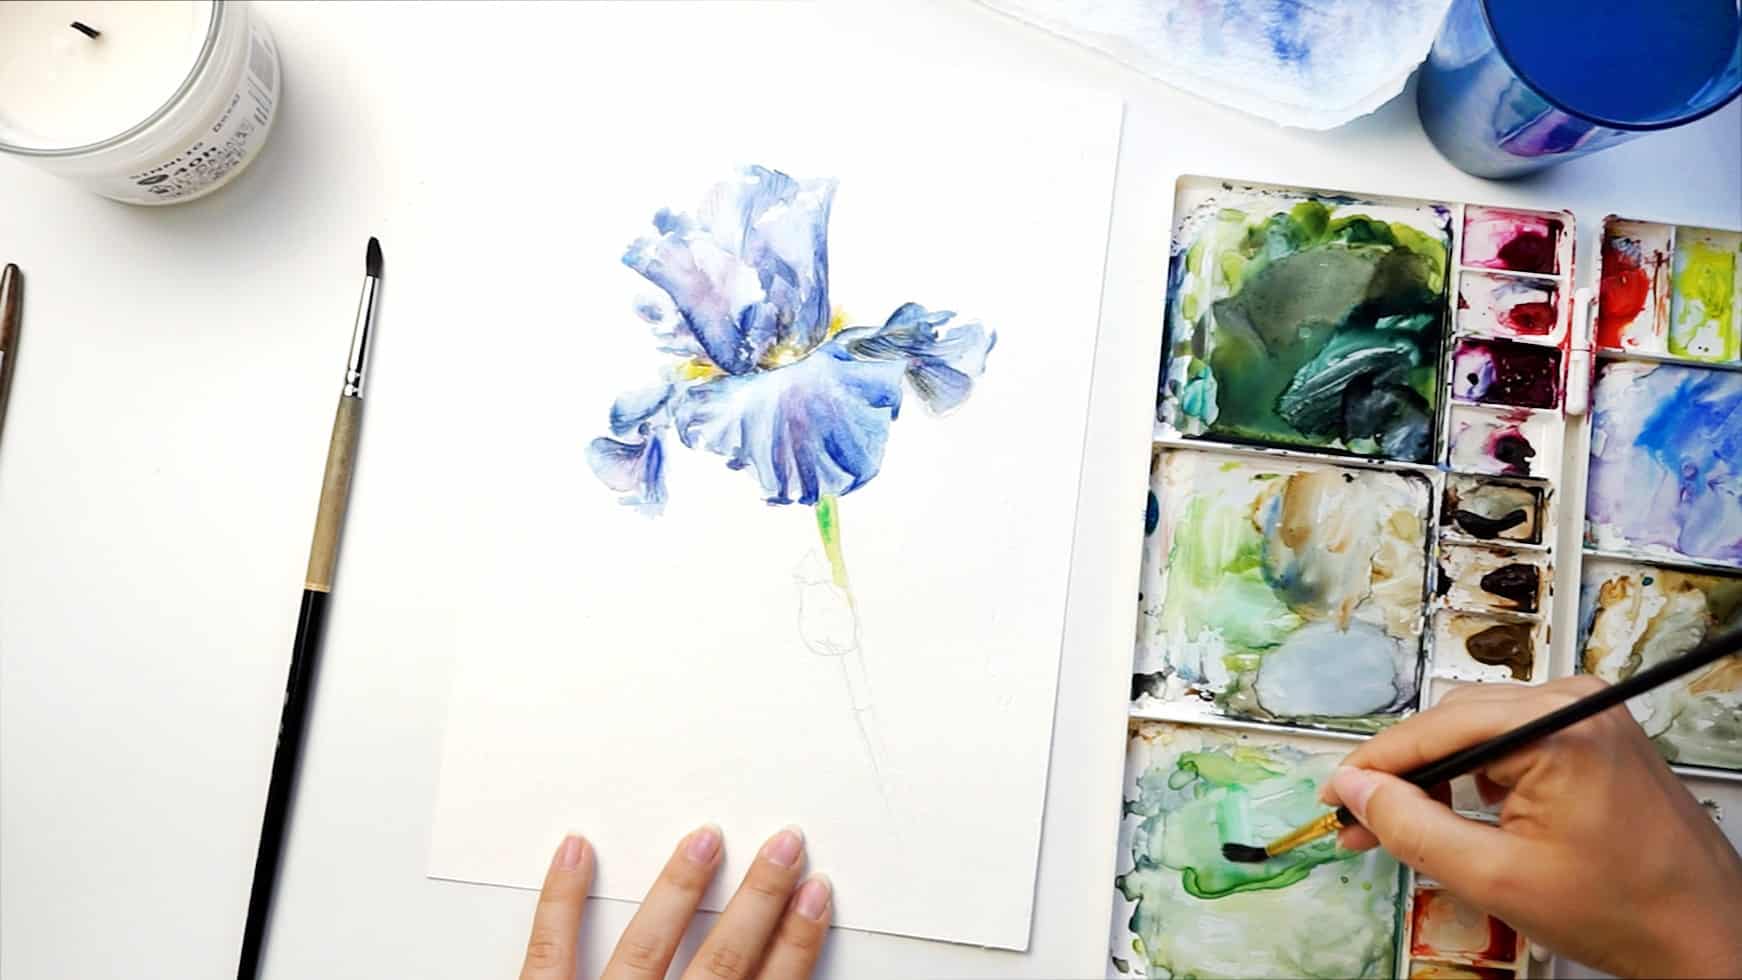
It’s important to know when to slow down and not overwork the painting. So now it’s the right moment to paint a stem. First light layer of green (I mixed my green myself with lemon Yellow and Ultramarine blue). Right away I added another tone of green and let it mix smoothly.
Step 17

Mix a darker tone of green by adding red color (because red is complementary to green) and work through shadows on the stem. This will make it look 3-dimensional.
Step 18
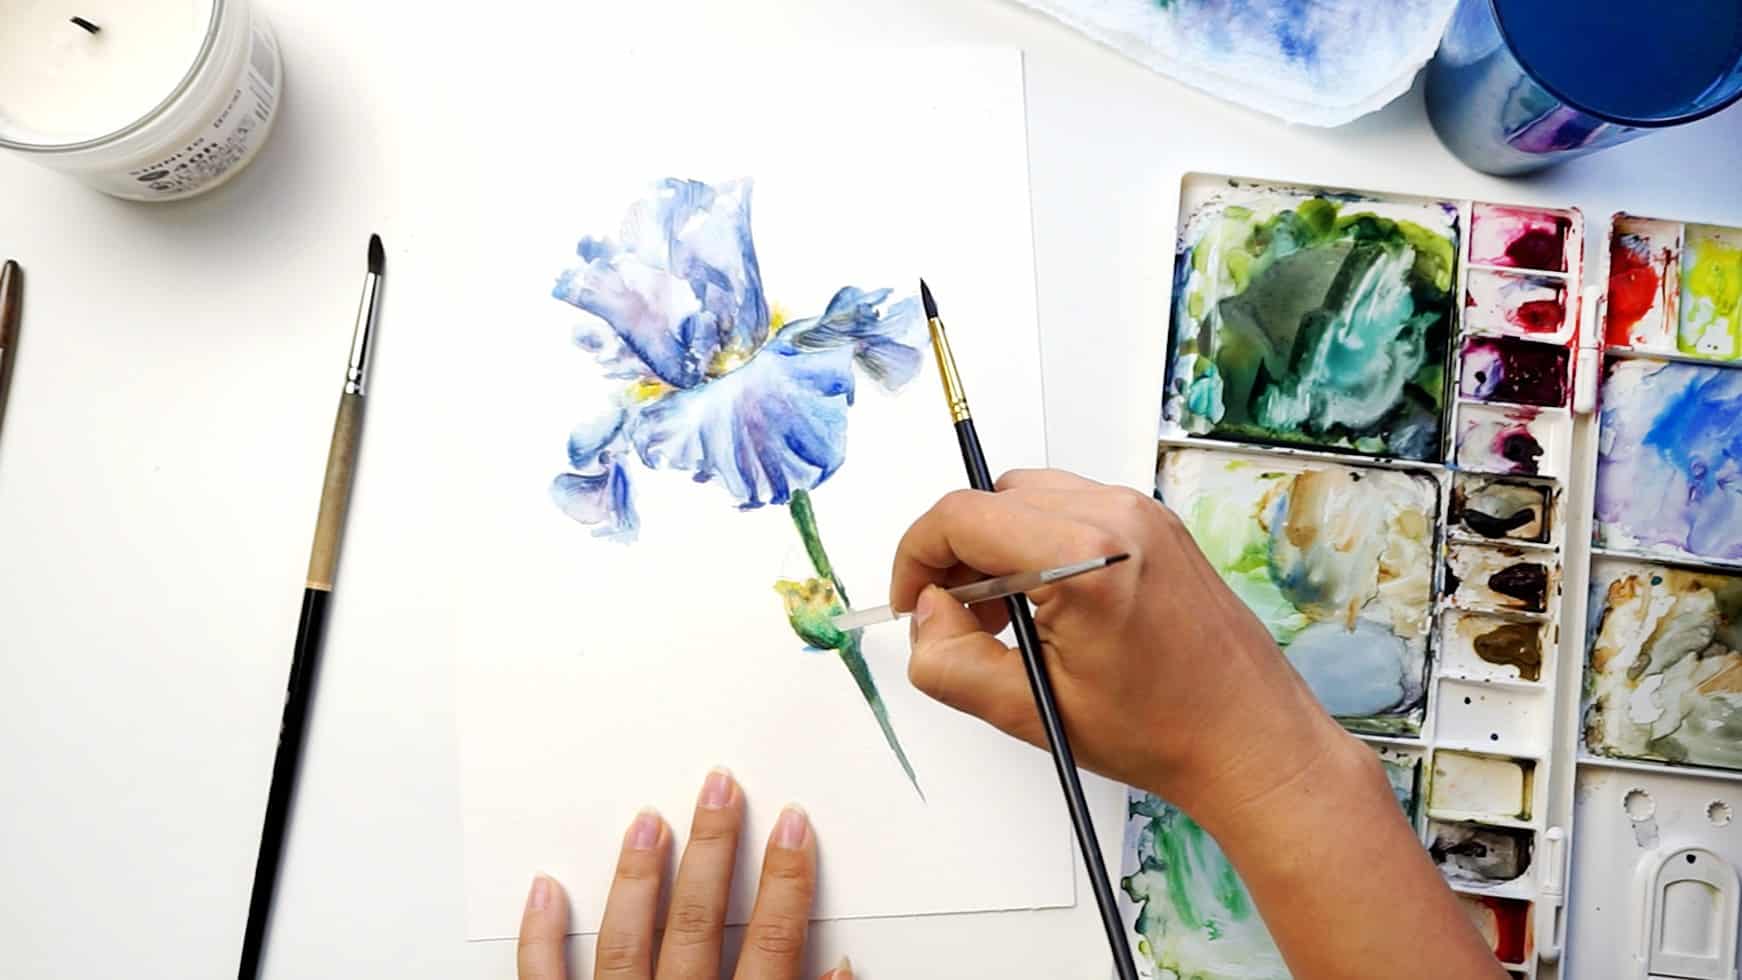
With already familiar trick of drawing/scratching tiny delicate lines with the opposite end of your brush – create that texture on your stem. And finish up that flower bud.
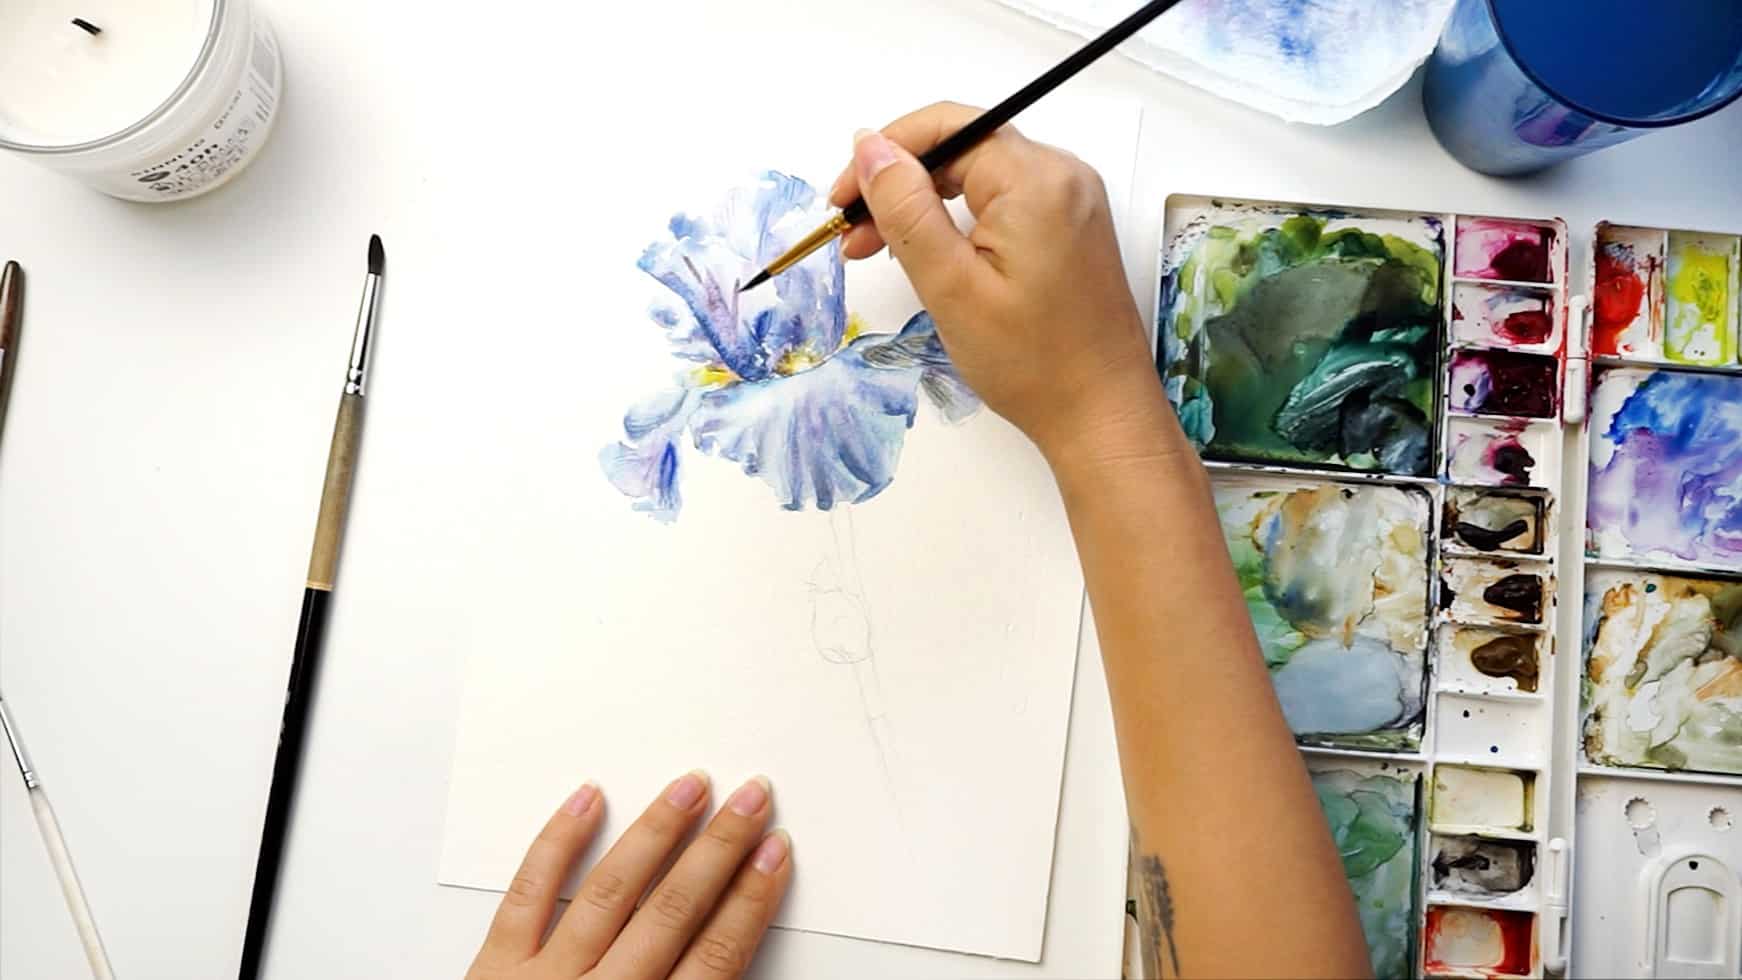
Step 19
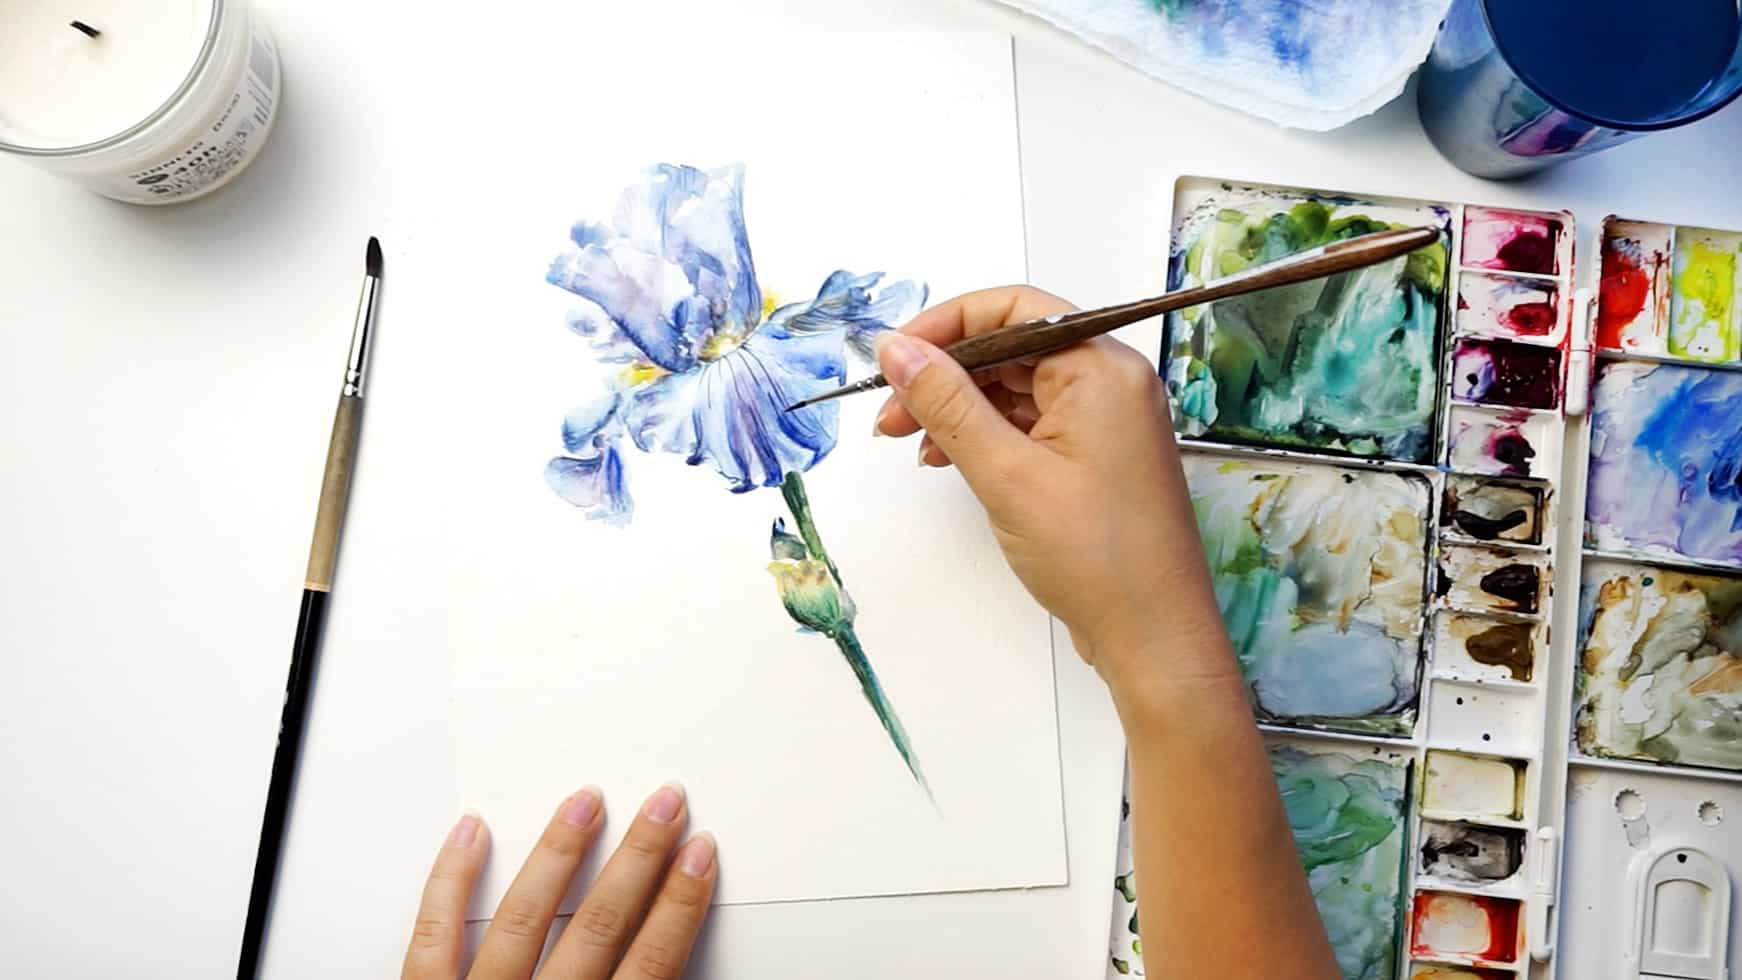
Take a step back, maybe take a photo of your work to see possible mistakes and think if anything needs to be added. I took my smallest synthetic brush and marked major veins on the bottom petal as thin as I could. Make sure to not paint those veins completely straight. They should follow the shape of the petal which is bent so your lines must be a little curvy too.
Yay, you are awesome! Congratulations on your blue iris and please share your painting with us in the comments section!
To wrap this up!
If you like watching the process more than reading long blog posts, here is a demo video painting blue iris in watercolor on Youtube. You can also always take a look at all our tutorials here.
LIFETIME ACCESS OFFER
Lifetime access to 47 watercolor classes taught by a professional artist.
✅ Full library access, 47 classes
✅ Beginner to Advanced crash course
✅ All our ads-free YouTube videos
✅ Private Facebook group
✅ Real Teacher Feedback
✅ Optional Coaching Sessions


Fabulous….possible to follow a course on line….?
Are you American,British, or Canadian….
Love your work
Thank you, appreciate it! The author of this tutorial (Yana) is Ukrainian 🙂 We do not have this particular flower as an online course, but inside Watercolor Painting Academy you can find lots of other flower courses to follow: cherry blossom, white flower, rose, daisy, wildflowers, mysterious leaves, palm leaves, etc. Check them out here: https://www.watercolorpaintingacademy.com/library/
Can i use your iris reference photo for my cover story?
Hey Peach, sure, please do. Don’t forget a link to our article ;). Cheers!
Your directions are so clear! Thank you for doing this and sharing ?
One question- how did the watermelon get in for step eight?😂i had to reread it several times because I thought I missed something.
No worries. It could happen to anyone.
Jackie